NetTalk WebServer - Header
Introduction
One of the big "differences" between NT5 and NT6 is the header. Well,
actually the difference is trivially small, but it has a reasonably large
visual impact for some users. The purpose of this document is to explore the
header change in a bit more detail.
Simple Conversion from NetTalk 4 or 5
So what was the actual change? Not much really, the Header is a Source
procedure, and the "optional" div wrapped around source procedures is no
longer optional.
So your header gets an extra div. So what's the
problem? Well the div gets a "default" css setting of
'adiv'
(that's a left-over from NetTalk 5). Removing the
'adiv'
solves most of the issues outright. Well almost.
You may notice that
your header is a bit different - the text in the header is smaller, and not
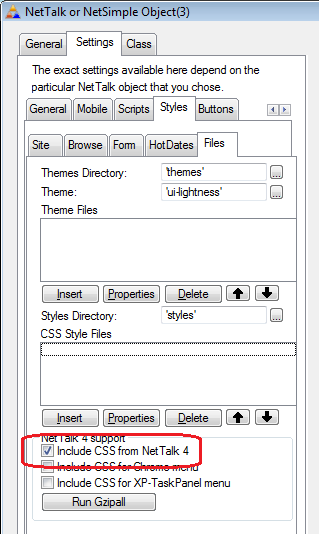
centered. I'll cover the reason for that in a bit but if you want to get
those back, go to the WebServer procedure, Extensions, NetTalk extension,
Settings, Styles, Files, and tick on
Include CSS from NetTalk 4.
Then click on the
Run Gzipall button.
At
this point you can stop. The sections that follow discuss possible updates
to the header which you may want to try.
Removing the Border Extension
Many headers made use of the "Net Web Border" Extension. This was especially
popular in NetTalk 4, and many of the examples used it. In NetTalk 6 the
border can more easily be created, and manipulated, using CSS, so the
extension is now somewhat redundant.
You can remove the xHtml from
inside the border extension, moving it to the xHtml of the NetWebSource
procedure using the following steps;
First, find the existing HTML in
the Border Extension, and copy this to the clipboard;
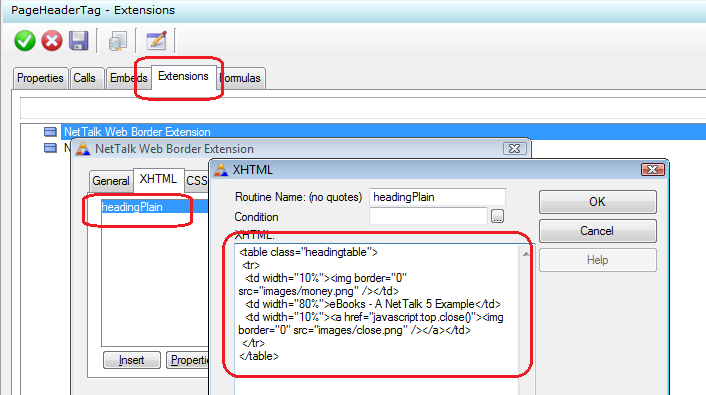
Now
navigate to the normal xHtml tab, and paste the Html in there
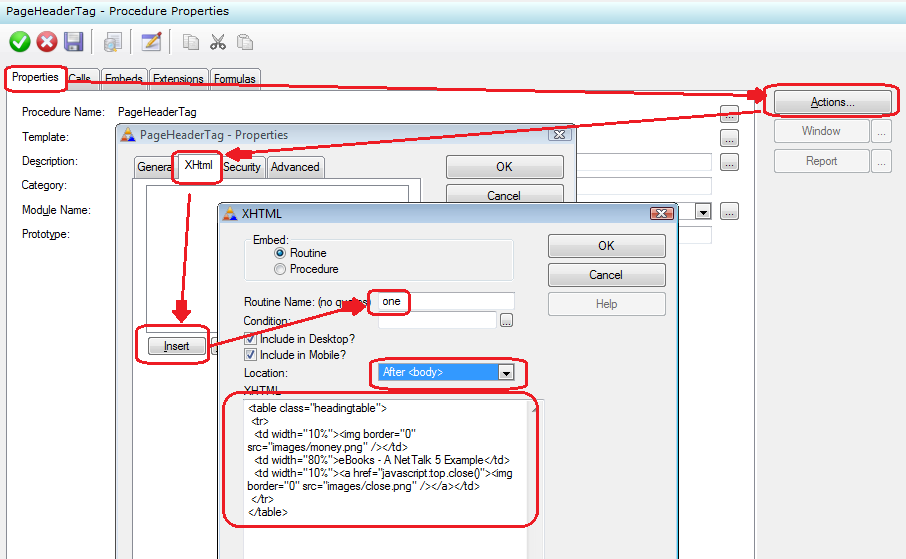
Notice
that the routine name can be set to anything unique, but remember to set the
Location to
After Body.
Once that's done you can go ahead and delete the old Border Extension.
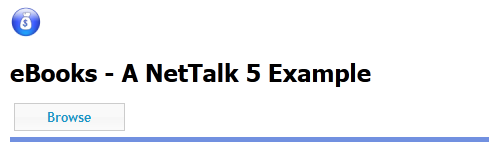
The header now looks something like this;

similar to
before, but without the border.
one simple way to add a border back is to
wrap the html in a
<fieldset> tag.
Another
way is to use CSS. But before we get there it's time to look a bit closer at
the HTML itself.
Simplifying the HTML
The HTML in the example above is
<table class="headingtable">
<tr>
<td width="10%"><img
border="0" src="images/money.png" /></td>
<td
width="80%">eBooks - A NetTalk 5 Example</td>
<td
width="10%"><a href="javascript:top.close()"><img border="0" src="images/close.png"
/></a></td>
</tr>
</table>
This is fairly typical of
early NetTalk 4 Web Server headers. It contains a
<table>, and makes use of a style called
headingtable. The table has a single row, broken into three cells.
One thing that can immediately be done is to remove the right-most cell.
This contains a "power off" image, which, when clicked, closes the browser.
Except that most browsers no longer allow this behavior, so while it works
in some cases it mostly doesn't work.
<table
class="headingtable">
<tr>
<td width="10%"><img border="0" src="images/money.png" /></td>
<td width="80%">eBooks - A NetTalk 5 Example</td>
</tr>
</table>
The second thing to do is to stop using the <table>
as a layout mechanism, and use <div> tags instead. This makes the code
smaller and cleaner.
<div><img border="0" src="images/money.png"
/></div>
<div><h1>eBooks - A NetTalk 5 Example<h1></div>
At this
point the header contains the content we want, and no more. We need to apply
the styling to make it look right, and that we do with CSS.
Using CSS
If you haven't already done so, I recommend watching the Webinar on CSS
-
ClarionLive Webinar #97
How to apply CSS to a Net Web Server application.
CSS is really very easy
once you get the hang of it, and super-powerful. It will add a whole
dimension to your web apps with almost no effort at all. NetTalk is strongly
aligned towards CSS and it's easy to apply your CSS changes to your whole
site.
Of course not all headers will look the same, that's the whole
point of CSS, so in this section I'll suggest some possible starting points,
however you're free to use whatever CSS you like, including starting with
one of these points and adapting it to your needs.
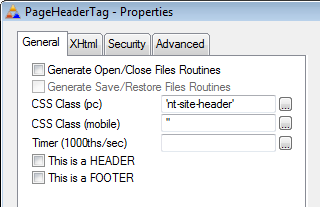
nt-site-header
A starting point is to add the
'nt-site-header' class to the
whole Header Div.
This
changes the header to look something like this;
The
key item here is the blue line under the heading (as distinct to a line
around the whole heading we had before). The layout is not quite right
though, we want the text to appear next to the image, and the text should be
centered. To tweak that it's necessary to return to the HTML, and add some
CSS in there.
<div
class="nt-left"><img border="0" src="images/money.png"
/></div>
<div class="nt-center-justify"><h1>eBooks
- A NetTalk 5 Example</h1></div>All that's happening here is
that one, or more, CSS classes are being applied to each DIV. In the case of
the image DIV we'd like it to float to the left, so there is space for the
heading text to the right. This is done with the built-in class
nt-left. The text in the other DIV should be
centered horizontally, and again a built-in CSS class is used, called
nt-center-justify.
The heading now looks
like this;

ui-widget
Another starting point, and this is the approach the wizard takes, is to
set the procedure CSS to
' ui-widget-header ui-corner-top'. Note the leading space, it's important.
This applies the jQuery theme to the header, the colors are dependent on
the specific theme you are using. You'll notice there are actually two
CSS classes in play here, separated by a space. The first applies the
widget-header colors to the header, the other makes the corners on top
of the header slightly rounded.

As
before, this is close, but we want to make the same changes to the HTML
in order to get the layout right.
<div
class="nt-left"><img border="0" src="images/money.png"
/></div>
<div class="nt-center-justify"><h1>eBooks
- A NetTalk 5 Example</h1></div>

That's
close, but the image is a little squashed in the corner for my liking.
That solved by applying another small class to the image;
<div
class="nt-left
nt-site-header-logo"><img border="0" src="images/money.png"
/></div>
<div class="nt-center-justify"><h1>eBooks
- A NetTalk 5 Example</h1></div>[End of this document]